Hello!
Time for a new build update! I have started to work on Tarangus A32A Lansen, a really great kit of a cold war warrior within the Swedish airforce. I have wanted to start and build this kit for some time now, but I wanted to take it a little bit further...with a lot of scratch building. All scratch building is done with the help photos, books, the internet, but also by using some free handed artistic licence and therefor everything may not be accurate. This build is also on the go over at Flory Models.
I have been doing scratch building in the nose wheelbay, cockpit and on the intakes so far.
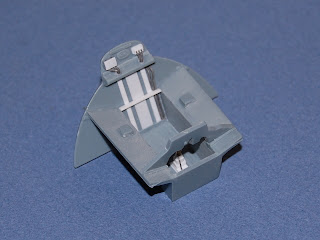
I started with the nose wheelbay as this is a part of the cockpit assembly. Here is how the scratched detail came out, there are still some part for the gear door mechanism still to come, but I need to get the fuselage together first so that will have to wait until later.
I continued to work in cockpit and do some further scratch built detailing and make it work with Maestro Models Interior PE set. The work started to scratch build new columns for the navigator and pilot, to replace the ones from the kit.
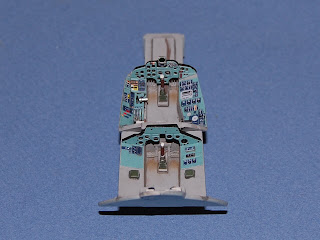
The cockpit. I wanted more detail in cockpit, but also get both cockpit tubs together as one unit to make it easier to work with later on during the build.
As a part of the work to add detail in cockpit, I decided to spruce up the cockpit sidewalls with some scratch building.
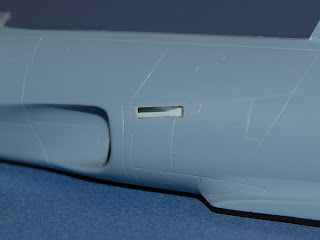
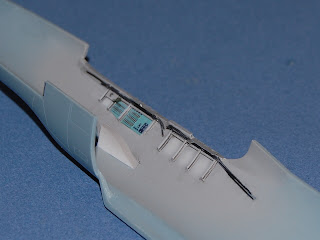
I also did some scratch building to get some interior for the air outlet above the main air intake. There is just a hole into the fuselage in this area. I will not use the interior parts of the intake as I´m going to use the excellent PE FOD covers from Maestro Models.
First, the work to get the FOD covers into shape.
Here are the scratch built interior of the air outlet.
So, time to sum up this update. Cockpit and cockpit sidewalls are painted and weathered ready for the next phase in this build.
The painted and finished cockpit sidewalls.
The finished cockpit painted and ready together with the interior PE set from Maestro Models.
Finally some photos with the cockpit center part together with the cockpit sidewalls.
Thanks for looking in! I hope you like it so far?! I´m currently working on the airbrakes, again great stuff from Maestro Models. There will be scratch built "airbrake bays", as new empty holes occur when the fuselage is opened up to make room for the PE airbrakes.
Back another day! Cheers!!!


No comments:
Post a Comment